Quick-start: Integrate your first model
This quick tutorial will show you how to create a new model by uploading an excel, selecting inputs, selecting outputs and send API requests.
Step 1: Download Sample Model
First thing you’ll need is a model. Feel free to Download below ‘Loan Calculator' Excel model and let’s go through the step-by-step process of uploading & hosting this excel calculator as a cloud based Model, ready for integration with any external application in the matter of minutes.
Loan Calculator(Quickstart Model).xlsx
Step 2: Creating a New Model
To create your new model - Click on the blue ‘Create New Model’ button near the top-right corner.
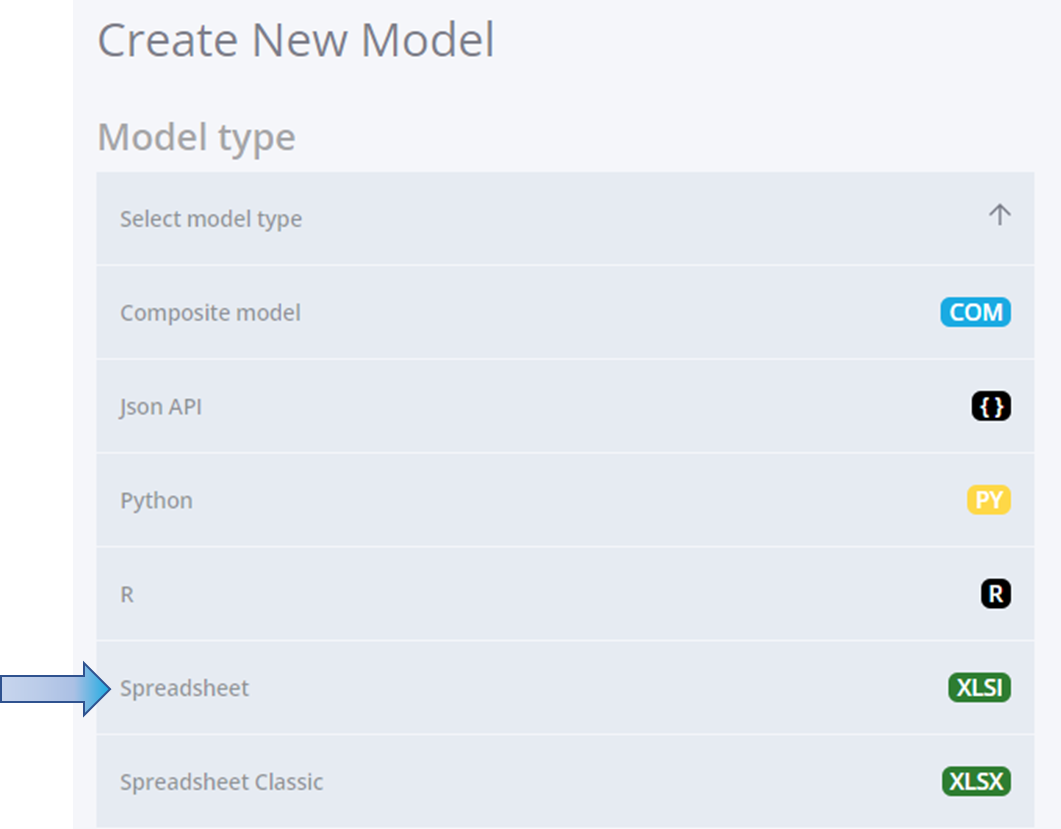
Then select ‘Excel Interactive’ option, and on the next screen, you can either drag and drop the model in the dotted area or browse for the model on your device. For now, we are not going to select the ‘Enable Editing’ box.
Step 3: Loading Model
Upon selection of 'Loan Calculator.xlsx' file, application loads the Model for Input and Output selection
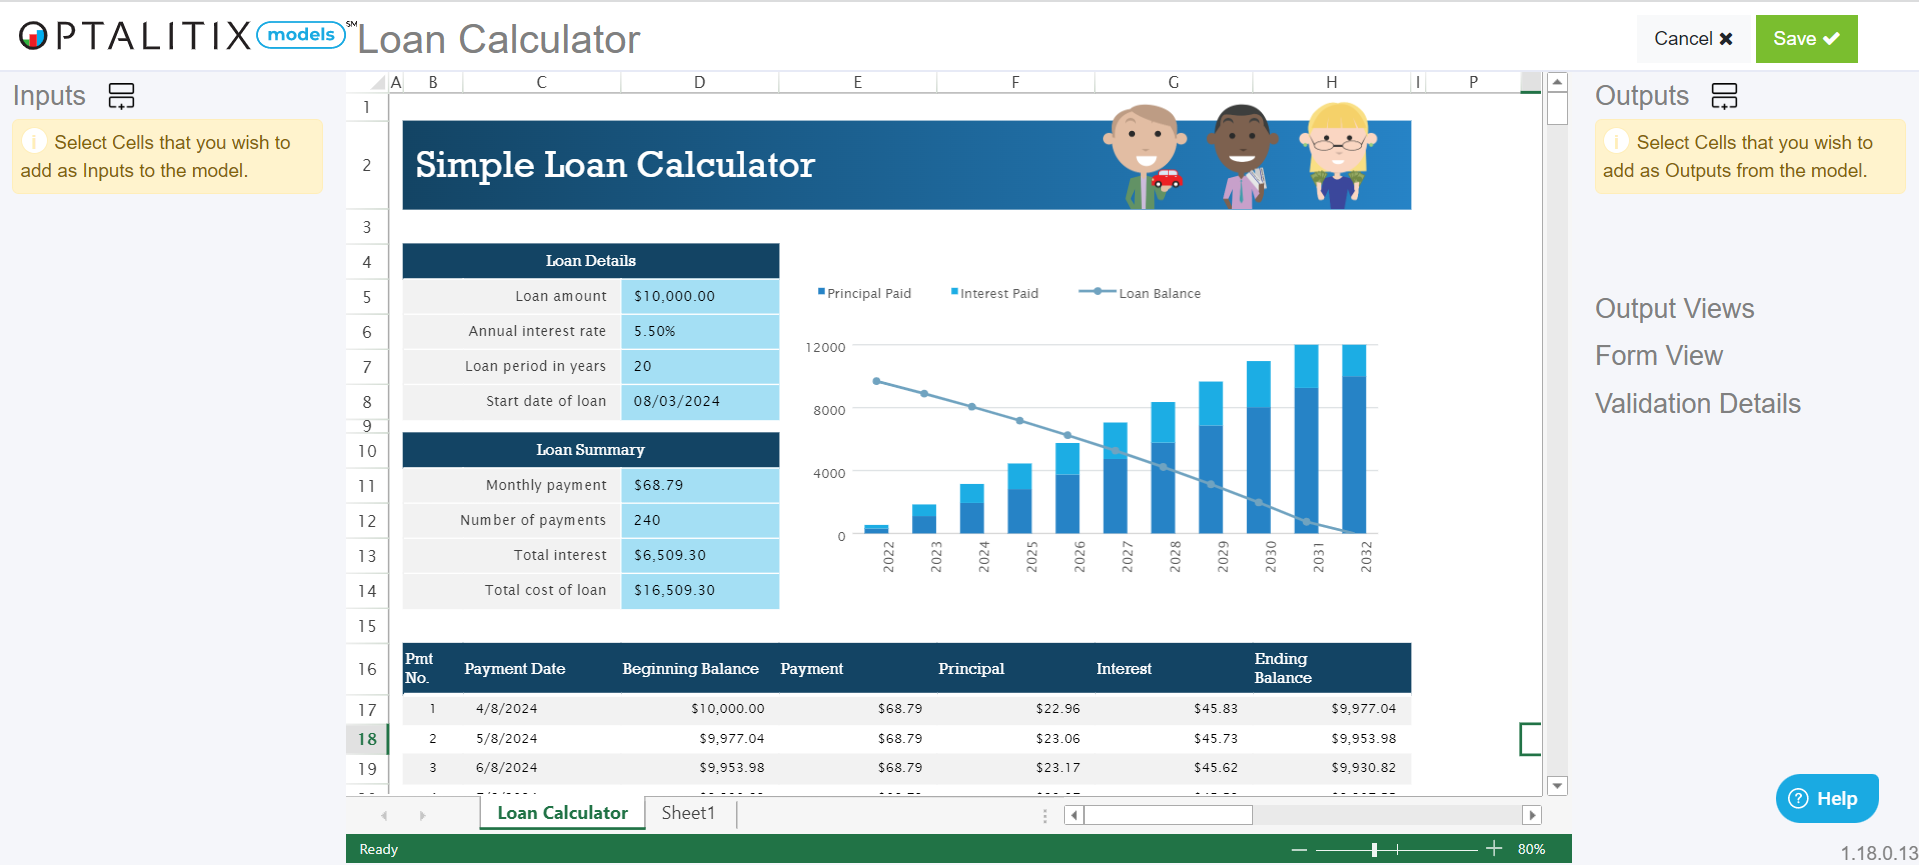
Step 4: Selecting Inputs
Our model requires four inputs which can be seen in the ‘Loan Details’ table. To add these as inputs - Right Click on one or more cells and then click on ‘Select as an Input’ OR click the green button on the top-left next to the Inputs header.
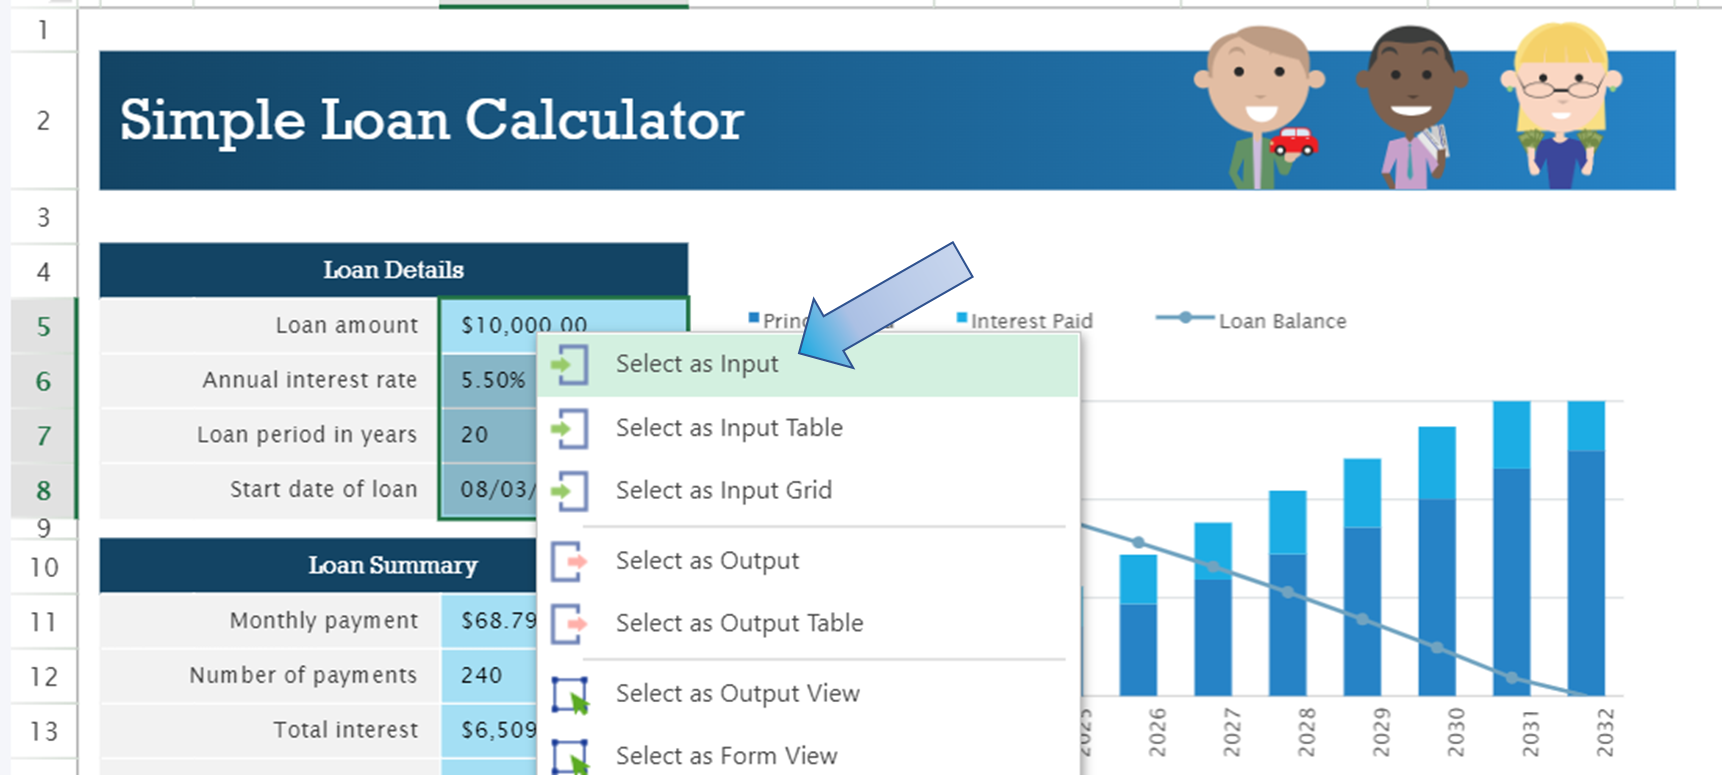
As you can see below, our inputs have automatically been assigned titles.
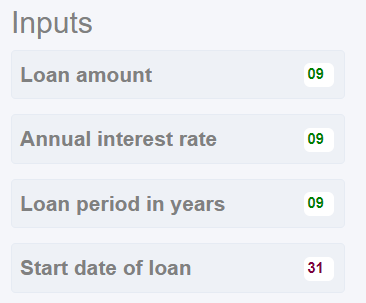
Hint: Models automatically uses information to the left of the cell to determine the title. Click on the relevant Input/Output to change the title and other properties,
Step 5: Selecting Outputs
Outputs are selected in the same way as the inputs. Right click on one or more columns and click ‘Select as an Output’.
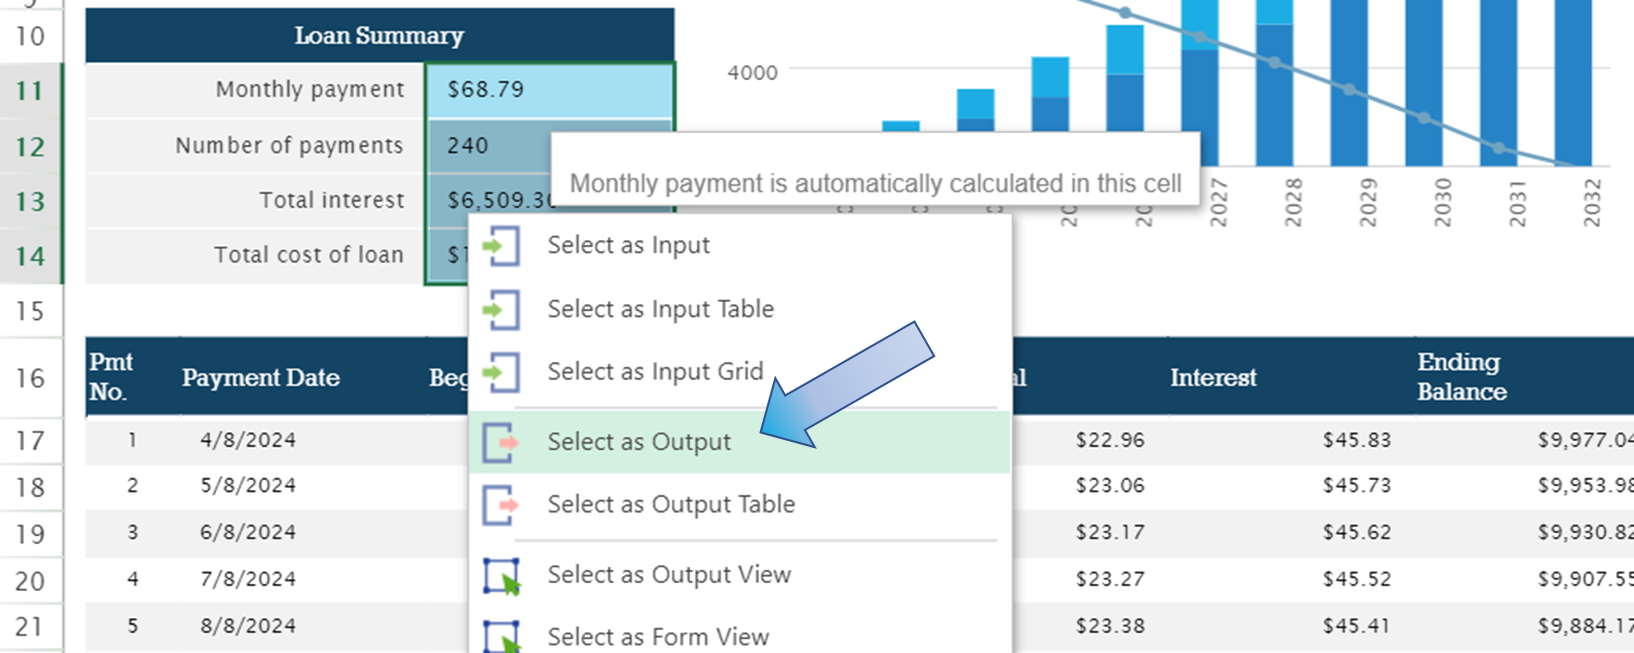
Once we have selected all our inputs and outputs we can click the save button in the top-right corner and allow Models to host the APIs around your Formulas.
Step 6: Sending Requests
It is best to test that the model is working and the API requests do not fail.
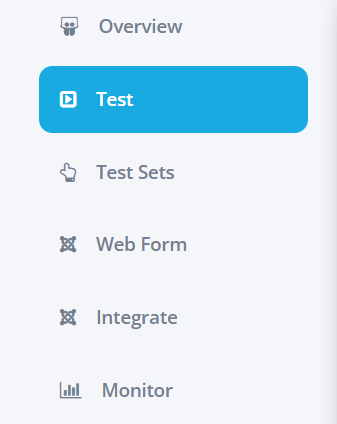
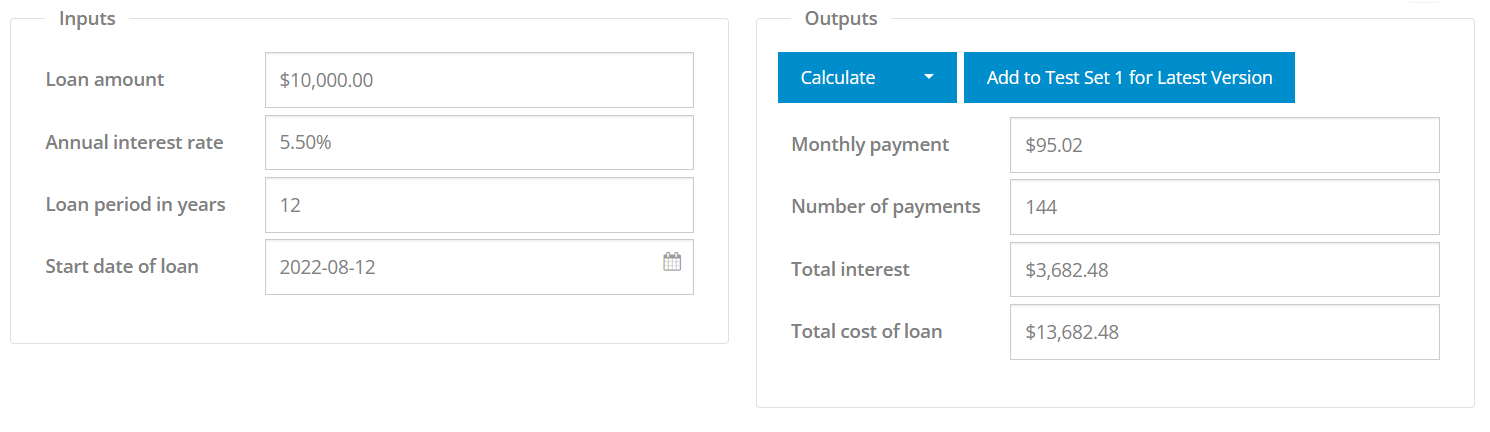
To do this let's go to the ‘Test’ tab on the left. If we change the input values and hit the ‘Calculate’ button, our new outputs will be displayed on the right.
Here we can see that I have changed my inputs, made a request and the outputs have been displayed below on the right.
Step 7: Integrating Model
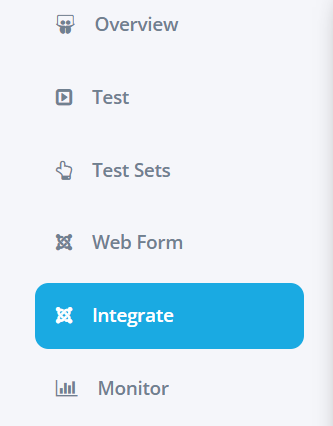
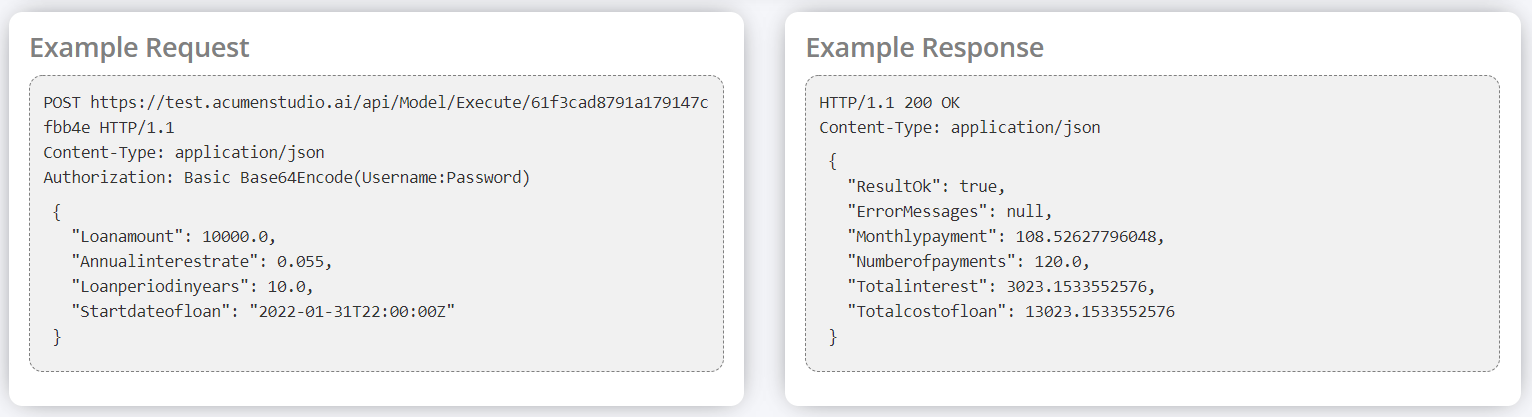
If we navigate to the ‘Integrate’ tab, we can see a number of URLs that are the endpoints of our API. These can be used to make API requests from another application. For now, use the first URL as we will only be going through the uses of versions and tags later on. Take note that requests require authentication - this can be either basic authentication or using an API token.

Below we can see what an example request and response looks like: